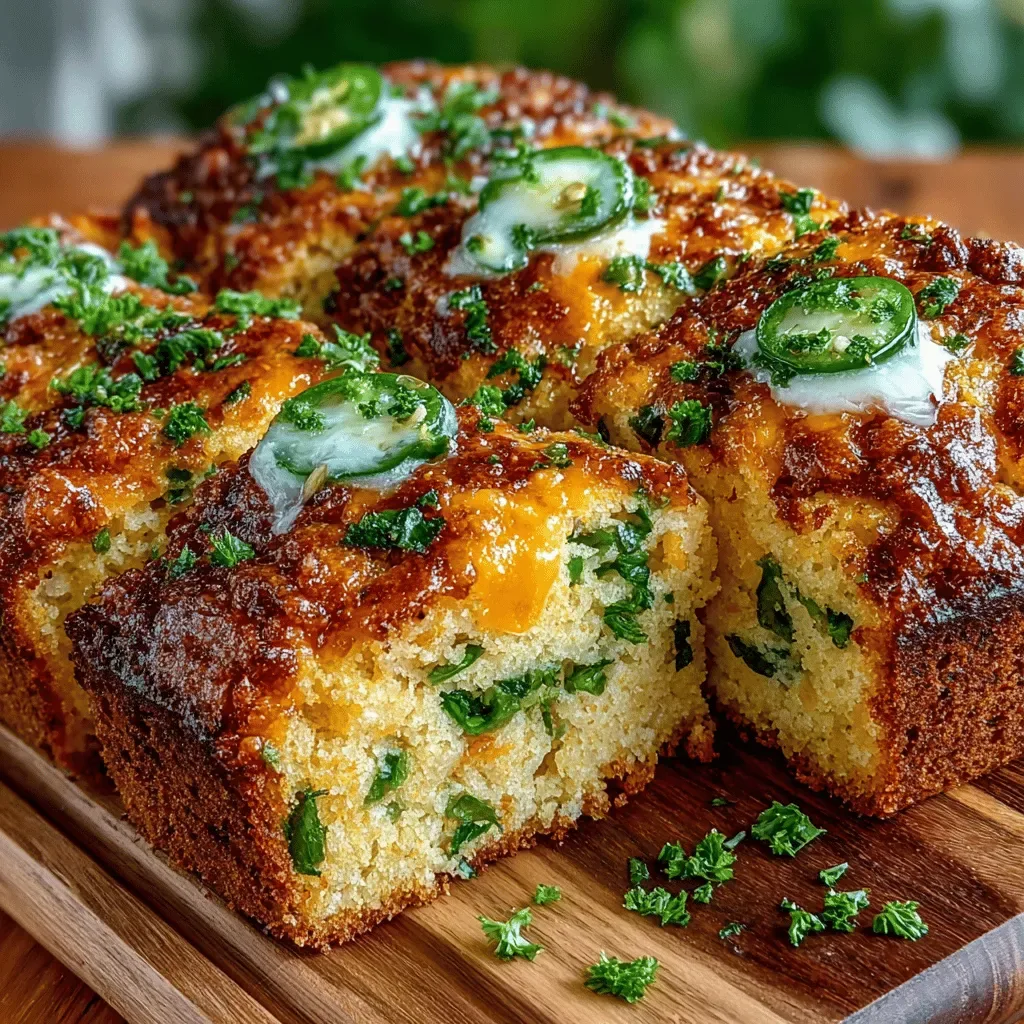
It was a crisp autumn evening when I first discovered the magic of turning humble mashed potatoes into something that crackles, pops, and practically sings on the palate. I was standing at the kitchen counter, the faint scent of butter and garlic drifting from a pot of simmering broth, when my niece tugged at my sleeve and asked, “Can we have fries for snack?” I laughed, because the answer was obvious: why not reinvent the classic fry using the comfort of mashed potatoes? The moment I scooped the fluffy mash onto a parchment‑lined tray, the kitchen filled with a buttery, earthy aroma that reminded me of Sunday family dinners and the warm glow of the oven. As the first batch hit the hot oil, a sizzle erupted like tiny fireworks, and the air was instantly charged with anticipation.
What makes these crispy mashed potato fries different from any other snack you’ve tried is the marriage of two beloved textures: the creamy, buttery interior of perfectly mashed potatoes and the satisfyingly crunchy exterior that only a quick fry can deliver. Imagine biting into a golden‑brown crust that shatters with a whisper, only to reveal a soft, seasoned heart that melts in your mouth. The secret? A delicate balance of starch, cheese, and a dash of parsley that locks in moisture while creating that irresistible snap. You’ll notice the faint aroma of toasted parmesan as the fries turn a deep amber, and the faint hiss of oil will become the soundtrack of your kitchen. The result is a snack that feels both indulgent and comforting, a true crowd‑pleaser that will have everyone reaching for seconds.
But wait—there’s a hidden trick that takes these fries from good to unforgettable, and it’s something I only learned after a few trial runs. It involves a quick rest period that lets the starch settle, creating a crust that’s impossibly crisp without sacrificing the fluffy interior. I’ll reveal that secret in step four of the instructions, so keep reading! In the meantime, picture the golden fries piled on a platter, sprinkled with fresh parsley, and served with a tangy aioli or a simple ketchup—pure snack heaven. The best part? This recipe is flexible enough to accommodate your favorite herbs, cheeses, or even a spicy kick, making it a perfect canvas for creativity.
Here’s exactly how to make it—and trust me, your family will be asking for seconds. Grab a sturdy pot, your favorite potatoes, and a handful of patience, because the journey from mash to fry is as rewarding as the final bite. I’ll walk you through each step, sprinkle in some pro tips, and even share a few variations that will keep you coming back for more. Ready to transform snack time forever? Let’s dive in.
🌟 Why This Recipe Works
- Flavor Depth: The addition of parmesan cheese infuses a nutty, umami richness that elevates the humble potato to a gourmet level. Each bite delivers a subtle salty tang that balances the natural earthiness of the spud.
- Texture Contrast: By coating the mash in potato starch before frying, you create a thin, crispy shell that shatters delightfully, while the interior stays cloud‑soft and buttery. This dual texture is what keeps snack lovers coming back for more.
- Ease of Preparation: The recipe uses pantry staples and requires only basic kitchen tools—no fancy equipment needed. Even a novice cook can follow the steps and achieve restaurant‑quality fries.
- Time Efficiency: With a prep time of just 15 minutes and a cooking time of 30, you can have a hot, golden batch ready in under an hour, perfect for spontaneous gatherings or quick family treats.
- Versatility: These fries can be served as a side, an appetizer, or a main snack, and they pair beautifully with a variety of dips—from classic ketchup to garlic aioli, or even a spicy sriracha mayo.
- Nutrition Boost: Using fresh parsley and a modest amount of cheese adds vitamins and antioxidants without turning the dish into a heavy indulgence. The potato starch adds a crisp finish without excess oil absorption.
- Ingredient Quality: Selecting the right potatoes and fresh herbs ensures a flavor foundation that shines, while the precise amount of starch guarantees consistent results every time.
- Crowd‑Pleasing Factor: The visual appeal of golden, glossy fries sprinkled with green parsley makes them Instagram‑ready and instantly appetizing, drawing both kids and adults to the table.
🥗 Ingredients Breakdown
The Foundation
The star of this dish is, of course, the potato. I recommend using starchy varieties like Russet or Idaho potatoes because they break down into a smooth mash that holds together when formed into sticks. Their high starch content also contributes to a crispier exterior once fried. If you happen to have Yukon Golds on hand, they’ll add a buttery flavor, though you may need a touch more starch to achieve the same crunch. When selecting potatoes, look for firm, unblemished tubers with smooth skin—these will mash evenly and give you a consistent texture.
Aromatics & Spices
Salt and black pepper are the backbone of seasoning, but the magic lies in their balance. A teaspoon of salt not only enhances the natural flavor of the potatoes but also helps draw out moisture, making the mash easier to shape. The quarter‑teaspoon of black pepper adds a gentle heat that awakens the palate without overpowering the delicate cheese notes. Fresh parsley leaves, finely chopped, are folded in at the end to introduce a bright, herbaceous finish that cuts through the richness.
The Secret Weapons
Parmesan cheese is the secret weapon that transforms ordinary fries into a gourmet treat. Its sharp, salty profile adds depth, while its low moisture content ensures the fries stay crisp. The recipe calls for a third of a cup, grated fine, so it melts into the mash and creates a subtle crust as it fries. Potato starch, used twice in the recipe—once mixed into the mash and once for the final coating—creates a barrier that locks in moisture and produces that coveted golden crunch. If you’re out of potato starch, cornstarch works as a decent substitute, though the texture may be slightly less airy.
Finishing Touches
A drizzle of high‑smoke‑point oil—such as canola, grapeseed, or peanut oil—ensures the fries fry evenly without burning. I prefer canola for its neutral flavor, allowing the parmesan and parsley to shine. After frying, a quick sprinkle of additional salt and a handful of fresh parsley not only adds visual appeal but also a burst of freshness that balances the richness. For those who love a little heat, a pinch of smoked paprika or cayenne can be tossed in at the end for a subtle kick.
With your ingredients prepped and ready, let's get cooking. Here's where the fun really begins...

🍳 Step-by-Step Instructions
Start by washing the potatoes thoroughly, then peel them if you prefer a smoother mash. Cut the potatoes into even chunks, about 2‑inch pieces, and place them in a large pot of cold, salted water. Bring the water to a boil over medium‑high heat, then reduce to a gentle simmer. Cook until the potatoes are fork‑tender, about 12‑15 minutes. Once done, drain them well and let them sit for a minute to steam off excess moisture—this step is crucial for a fluffy mash.
While the potatoes are still hot, transfer them to a large mixing bowl. Using a potato masher or a ricer, mash the potatoes until they are completely smooth, with no lumps. Add the teaspoon of salt, quarter‑teaspoon of black pepper, and the grated parmesan cheese while the mash is still warm; this helps the cheese melt evenly. Fold in the fresh parsley leaves, reserving a small handful for garnish later. The mash should be creamy, aromatic, and slightly glossy.
Now, sprinkle the 4 tablespoons of potato starch over the mash and gently fold it in until fully incorporated. This starch is the secret to creating that crisp exterior. If the mixture feels too sticky, you can add an extra tablespoon of starch, but be careful not to over‑dry the mash. Let the mash rest for 5‑10 minutes; this allows the starch to hydrate and the flavors to meld, setting the stage for perfect fries.
After the rest period, line a baking sheet with parchment paper. Using a spoon or your hands (wet them to prevent sticking), portion out the mash into uniform sticks—about the size of traditional French fries, roughly 1 inch thick and 4‑5 inches long. Place the sticks on the sheet, ensuring they don’t touch. This is where the magic of the “rest” pays off: the chilled mash stays firm, and the starch creates a thin skin that will turn golden when fried.
Heat a deep skillet or a Dutch oven with enough oil to submerge the fries—about 2‑3 inches deep. Heat the oil to 350°F (175°C). To test, drop a tiny piece of mash into the oil; if it sizzles and rises to the surface within a few seconds, the temperature is perfect. Carefully lower a few fries into the oil using a slotted spoon, making sure not to splash. Fry for 3‑4 minutes, or until the edges turn a deep golden brown and you hear that satisfying crackle.
Using a slotted spoon, transfer the fried fries onto a paper‑towel‑lined plate to drain excess oil. While they’re still hot, sprinkle a pinch of extra salt and a few fresh parsley leaves for a burst of color and flavor. Repeat the frying process with the remaining sticks, allowing the oil to return to temperature between batches. This ensures each fry gets that perfect, consistent crunch.
Serve the fries immediately while they’re still hot and crunchy. Pair them with a dipping sauce of your choice—garlic aioli, spicy ketchup, or a simple lemon‑yogurt dip works wonderfully. The best part? Even after a few minutes, the fries retain their crunch thanks to the starch coating. Gather your family around, watch their faces light up, and enjoy the applause that follows each bite.
And there you have it! But before you dig in, let me share some tips that will take this from great to absolutely unforgettable. From storing leftovers to customizing flavors, the next section will arm you with everything you need to become a fry‑master in your own kitchen.
🔐 Expert Tips for Perfect Results
The Taste Test Trick
Before you commit to frying the entire batch, fry just one or two sticks as a test. This allows you to gauge the oil temperature and adjust seasoning if needed. I once under‑salted the mash and discovered it only after the first test fry—adding a pinch more salt at that point saved the whole batch. Trust me on this one: a quick taste test prevents a repeat of that salty surprise.
Why Resting Time Matters More Than You Think
Allowing the mashed potatoes to rest after mixing in the starch is not just a suggestion; it’s a game‑changer. The starch needs time to hydrate fully, forming a thin film that becomes the crispy shell. Skipping this step can lead to fries that are soft all the way through. I once rushed this step and ended up with soggy fries—lesson learned, never skip the rest.
The Seasoning Secret Pros Won’t Tell You
A dash of smoked paprika or a pinch of cayenne added to the mash just before shaping can elevate the flavor profile dramatically. It adds a subtle smoky heat that pairs beautifully with the parmesan. I discovered this tip while watching a chef on a cooking show; he whispered it to the camera, and I’ve been using it ever since. The result? Fries that have depth beyond the basic salt‑pepper combo.
Oil Temperature Mastery
Maintaining a steady oil temperature is essential for consistent crunch. Use a deep‑fat thermometer to keep the oil between 350°F and 375°F. If the temperature drops too low, the fries absorb more oil and become greasy; too high and they burn before the interior cooks through. I keep a small bowl of ice water nearby—if a drop sizzles immediately, the oil is hot enough.
The Power of Double‑Coating
A light dusting of flour after the initial starch coating adds an extra layer of crunch. This technique is often used in professional kitchens to create a super‑crisp exterior that stays that way even after a few minutes on the plate. The flour creates a barrier that traps steam, preventing the fries from becoming soggy. Try it once, and you’ll never look back.
Serving Warm Is Key
These fries are at their best when served hot, right out of the oil. If you need to keep them warm, spread them on a baking sheet in a single layer and place them in a low oven (about 200°F) for up to 15 minutes. Avoid covering them with foil, as that traps steam and softens the crust. The result? Fries that stay crisp and ready for that second round of dipping.
🌈 Delicious Variations to Try
One of my favorite things about this recipe is how versatile it is. Here are some twists I’ve tried and loved:
Herb‑Infused Bliss
Swap the parsley for a blend of rosemary, thyme, and oregano. The aromatic herbs infuse the mash with a fragrant, earthy flavor that pairs wonderfully with a lemon‑yogurt dip. This variation is perfect for spring gatherings when fresh herbs are abundant.
Cheesy Overload
Add an extra ¼ cup of shredded mozzarella or cheddar to the mash for a gooey, cheesy interior. The cheese melts into the potatoes, creating pockets of molten goodness that surprise the palate. Serve with a spicy marinara for a pizza‑inspired snack.
Spicy Kick
Incorporate a teaspoon of chipotle powder or a pinch of cayenne into the mash for a smoky heat. The heat balances the richness of the cheese and makes the fries perfect for game‑day snacking. Pair with a cooling ranch dip to tame the fire.
Sweet & Savory
Mix in a tablespoon of honey and a dash of cinnamon into the mash before shaping. The subtle sweetness complements the salty parmesan, creating a unique flavor profile that’s great for brunch or a holiday appetizer. Serve with a maple‑mustard dip for an extra layer of flavor.
Garlic‑Butter Bliss
Melt a few cloves of roasted garlic into butter and drizzle it over the fries just after frying. The garlic‑butter coating adds a luxurious richness and an aromatic punch that makes the fries unforgettable. Finish with a sprinkle of sea salt flakes for texture.
Crispy Panko Crust
After the initial starch coating, roll the sticks in panko breadcrumbs before the final fry. The panko adds a light, airy crunch that’s distinct from the starch crust, giving you a double‑textured bite. This variation is especially popular with kids who love extra crunch.
📦 Storage & Reheating Tips
Refrigerator Storage
Place leftover fries in an airtight container lined with a paper towel to absorb excess oil. Store them in the refrigerator for up to 3 days. When you’re ready to enjoy them again, reheat using the oven method to restore crispness.
Freezing Instructions
For longer storage, arrange the cooled fries on a parchment‑lined baking sheet and freeze them in a single layer for 2‑3 hours. Transfer the frozen fries to a zip‑top bag and keep them for up to 2 months. This flash‑freeze method prevents the fries from sticking together, making it easy to pop out a handful whenever you crave them.
Reheating Methods
To reheat, preheat your oven to 425°F (220°C) and spread the fries on a wire rack placed over a baking sheet. Bake for 8‑10 minutes, or until the exterior is crisp again. For an extra boost of crunch, finish with a quick spray of oil before reheating. If you’re in a hurry, a hot skillet with a thin layer of oil works well—just watch closely to avoid burning.